
How to Do Surya Namaskar the Sun Salutation?
Surya Namaskar, or Sun Salutation, is a sequence of 12 yoga postures performed in a graceful flow. This sequence is traditionally practiced in the morning to greet the sun and energize the body. Surya Namaskar is more than just a physical exercise; it combines asanas (postures), pranayama (breathing), and meditation to balance the mind, body, and spirit. This practice has been revered in yoga for its comprehensive benefits, which include improving flexibility, boosting cardiovascular health, enhancing mental clarity, and promoting overall well-being.
In this guide, we will explore the steps to perform Surya Namaskar, the benefits of each pose, and tips to make your practice more effective. The instructions are designed to be user-friendly and easy to understand, making it accessible to beginners and seasoned practitioners alike.
Benefits of Surya Namaskar
Before diving into the steps, let’s explore the numerous benefits of Surya Namaskar:
- Improves Flexibility: Regular practice stretches and tones the muscles, enhancing flexibility in the spine, hips, and legs.
- Boosts Cardiovascular Health: The sequence increases heart rate, promoting better circulation and cardiovascular fitness.
- Enhances Mental Clarity: The combination of breath and movement helps calm the mind and improve focus and concentration.
- Promotes Weight Loss: Surya Namaskar can be an effective part of a weight loss routine by boosting metabolism and burning calories.
- Strengthens Muscles and Joints: The sequence engages multiple muscle groups, strengthening the core, arms, and legs while improving joint mobility.
- Reduces Stress and Anxiety: The meditative aspect of the practice helps reduce stress, anxiety, and depression by promoting relaxation and mindfulness.
How to Do Surya Namaskar: Step-by-Step Guide
Surya Namaskar consists of 12 postures that are performed in a sequence. Each pose is coordinated with a specific breath, making the practice a dynamic flow of movement and breath.
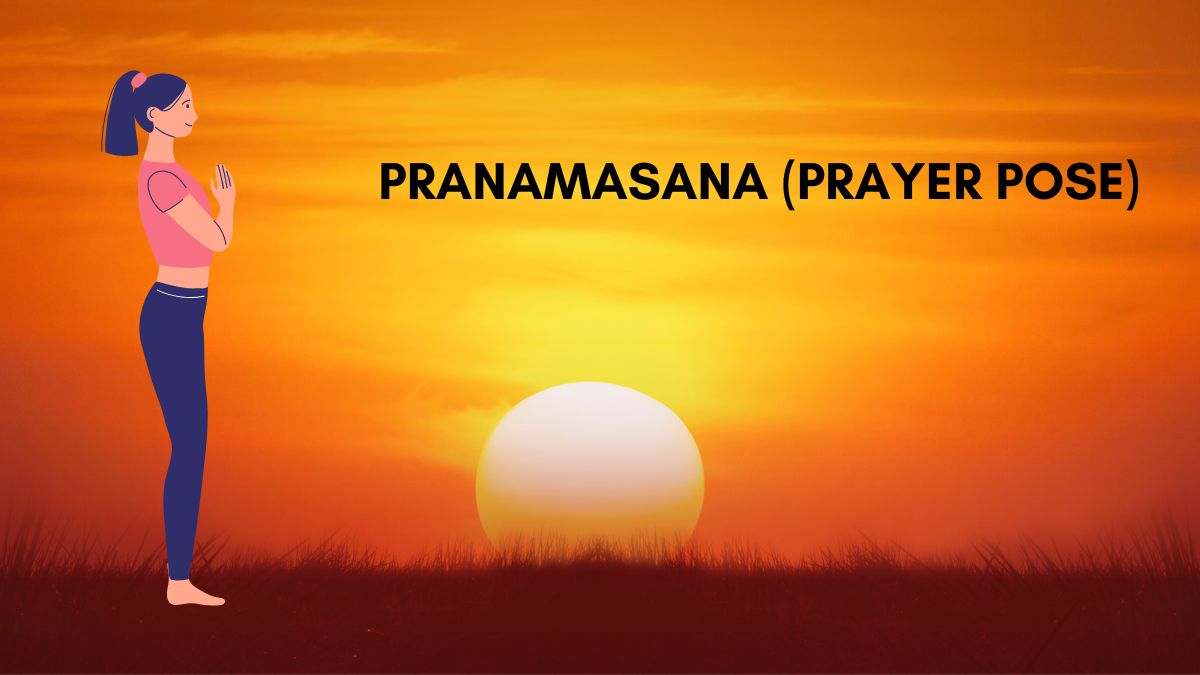
1. Pranamasana (Prayer Pose)
How to Perform:
- Stand at the front of your mat with your feet together.
- Distribute your weight evenly on both feet.
- Bring your palms together in front of your chest in a prayer position (Anjali Mudra).
- Close your eyes and take a few deep breaths, centering yourself.
Benefits:
- Calms the mind and prepares the body for the practice.
- Promotes a sense of balance and stability.
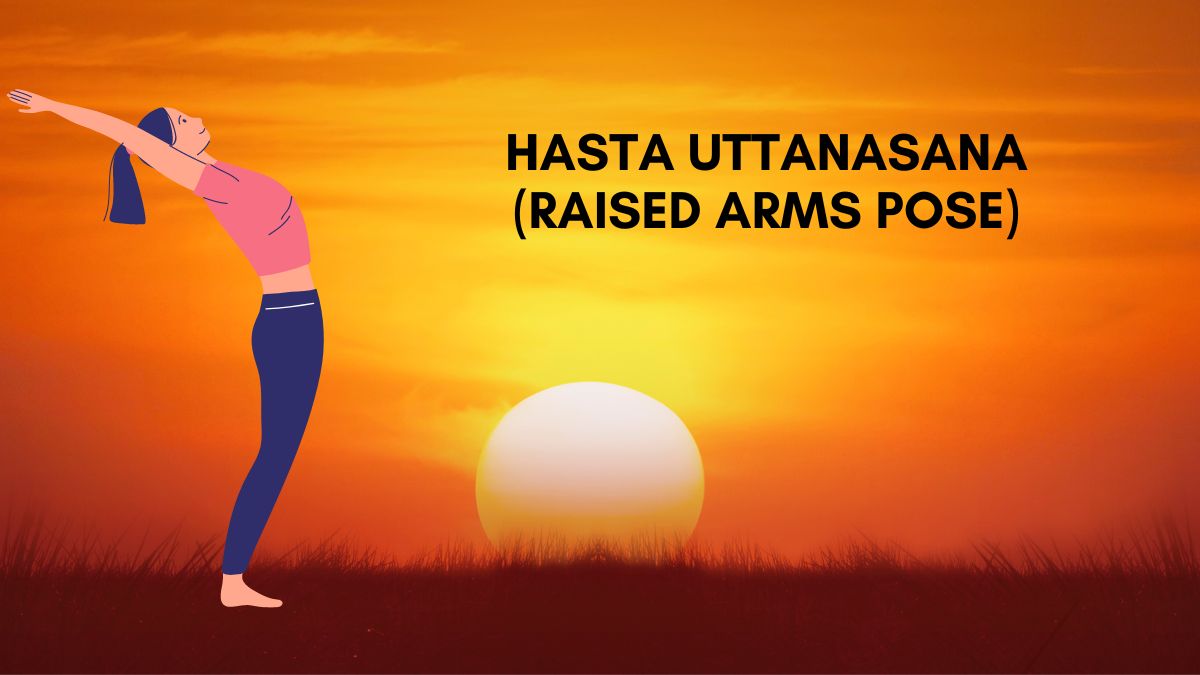
2. Hasta Uttanasana (Raised Arms Pose)
How to Perform:
- Inhale deeply and raise your arms overhead.
- Stretch your spine and gently arch your back, pushing your pelvis forward.
- Keep your biceps close to your ears and gaze up toward your hands.
Benefits:
- Stretches the chest, abdomen, and spine.
- Improves digestion and enhances lung capacity.
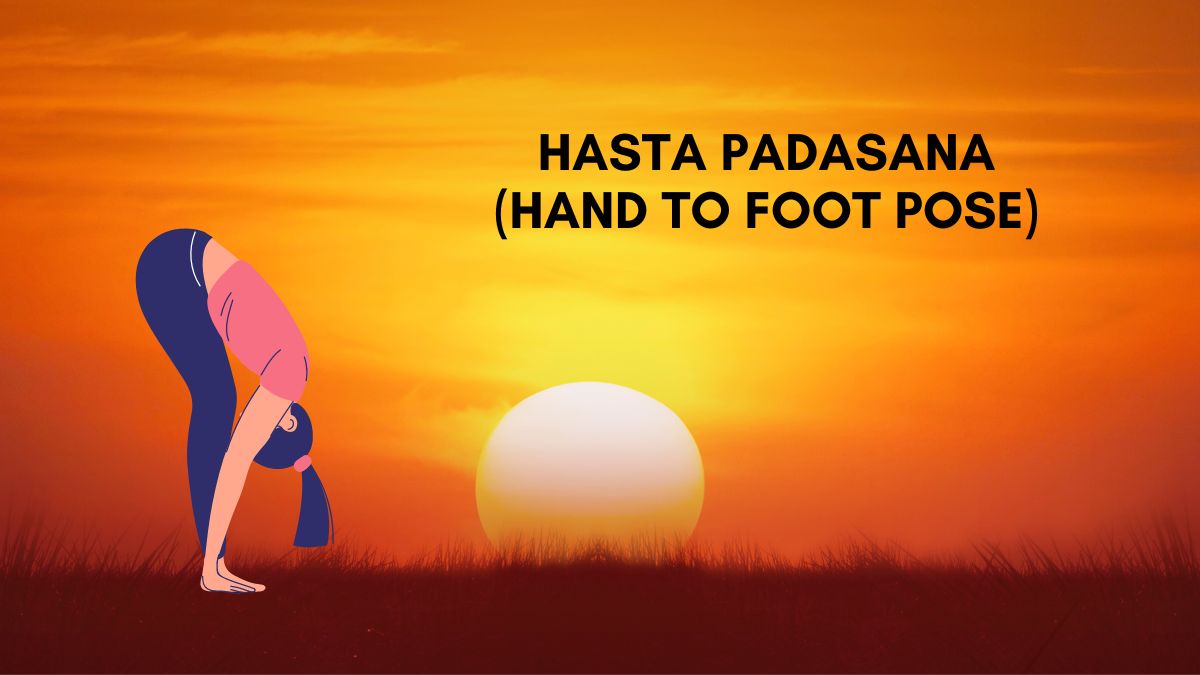
3. Hasta Padasana (Hand to Foot Pose)
How to Perform:
- Exhale and bend forward from your hips, bringing your hands down to the floor beside your feet.
- Keep your knees straight or slightly bent if necessary.
- Try to touch your forehead to your knees.
Benefits:
- Stretches the hamstrings, calves, and lower back.
- Stimulates the digestive organs and improves blood circulation.
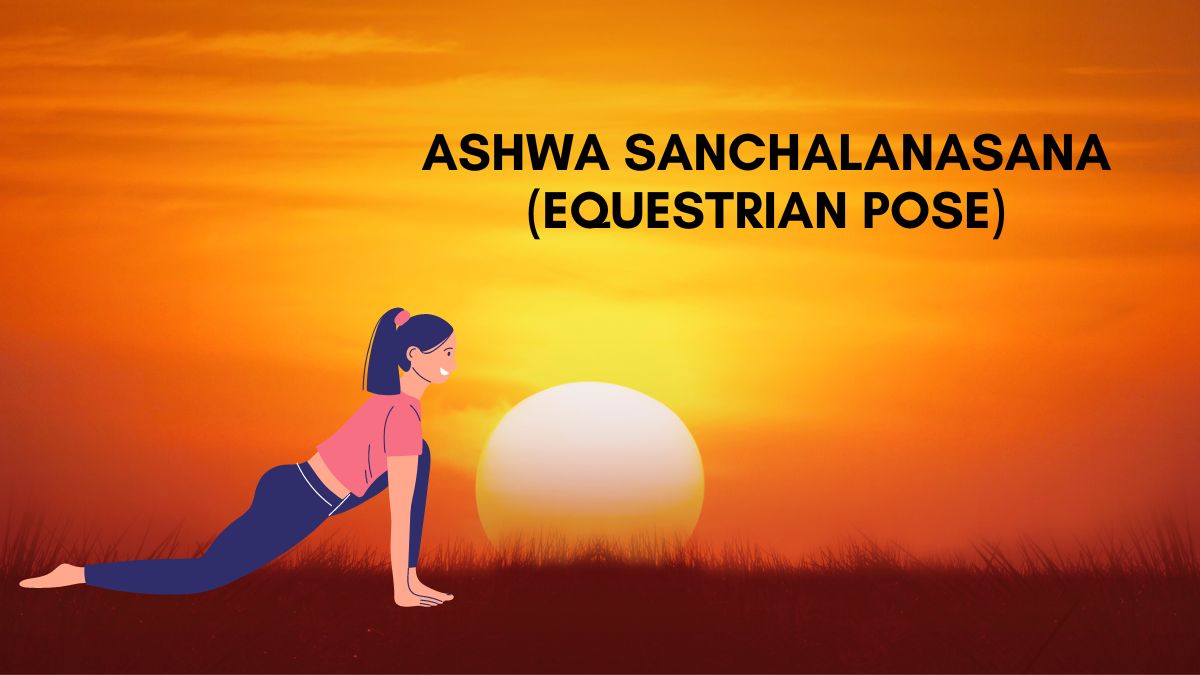
4. Ashwa Sanchalanasana (Equestrian Pose)
How to Perform:
- Inhale and step your right foot back, placing it on the floor with your toes curled under.
- Lower your right knee to the mat and keep your left foot between your hands.
- Lift your chest and gaze forward, keeping your spine elongated.
Benefits:
- Stretches the hip flexors and quadriceps.
- Strengthens the thighs and improves balance.
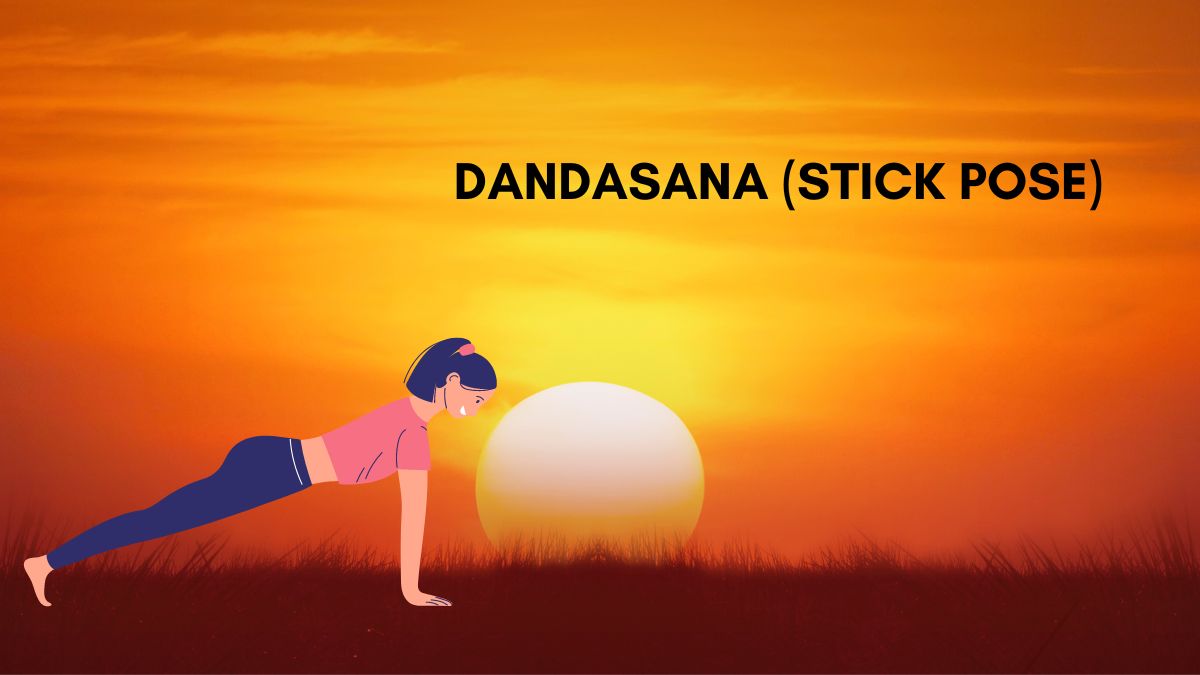
5. Dandasana (Stick Pose)
How to Perform:
- Exhale and step your left foot back to join the right foot.
- Your body should form a straight line from head to heels, like a plank.
- Engage your core and keep your shoulders directly above your wrists.
Benefits:
- Strengthens the arms, shoulders, and core.
- Improves posture and stability.
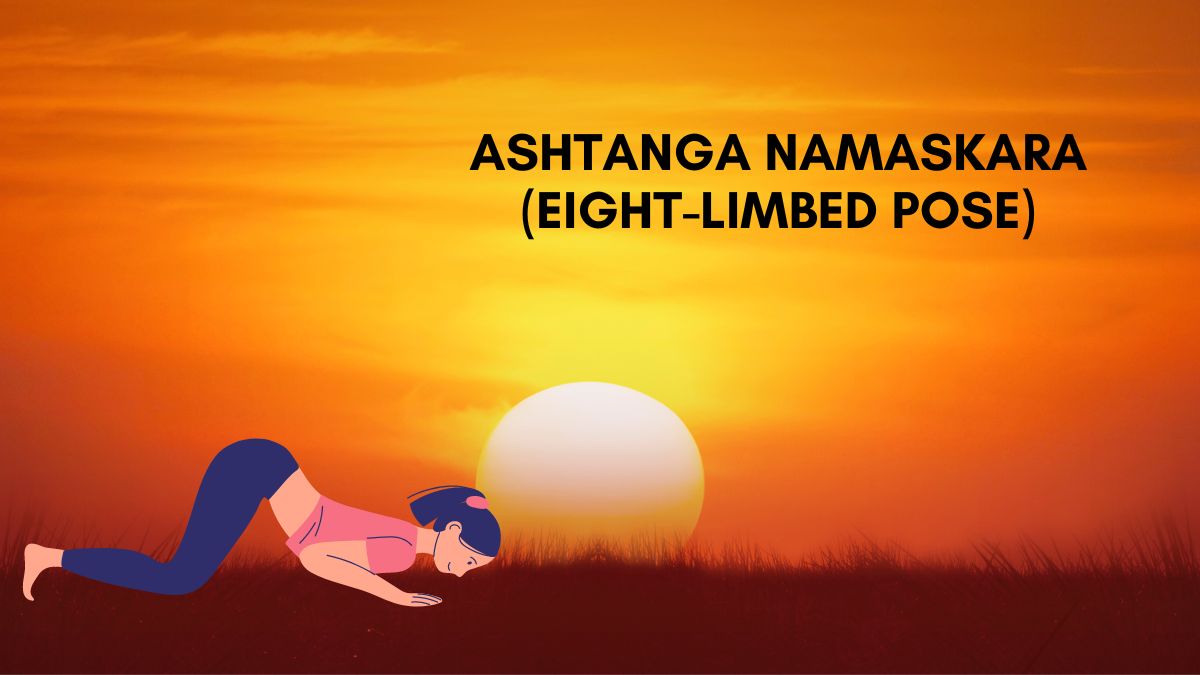
6. Ashtanga Namaskara (Eight-Limbed Pose)
How to Perform:
- Exhale and lower your knees, chest, and chin to the floor.
- Keep your hips slightly raised, with your toes, knees, chest, and chin touching the mat.
- Keep your elbows close to your body.
Benefits:
- Strengthens the arms, chest, and shoulders.
- Prepares the body for deeper backends.
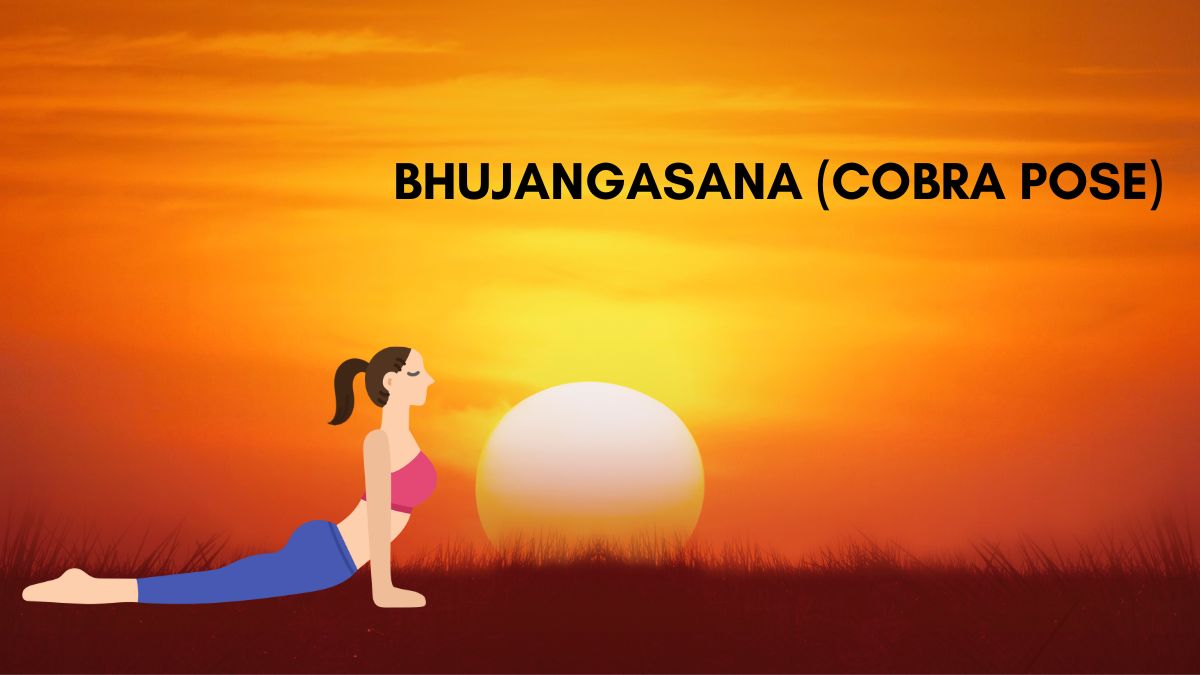
7. Bhujangasana (Cobra Pose)
How to Perform:
- Inhale and slide forward, straightening your arms to lift your chest off the floor.
- Keep your elbows slightly bent and your shoulders away from your ears.
- Gaze upward, gently arching your back.
Benefits:
- Stretches the spine and opens the chest.
- Strengthens the back muscles and relieves tension.
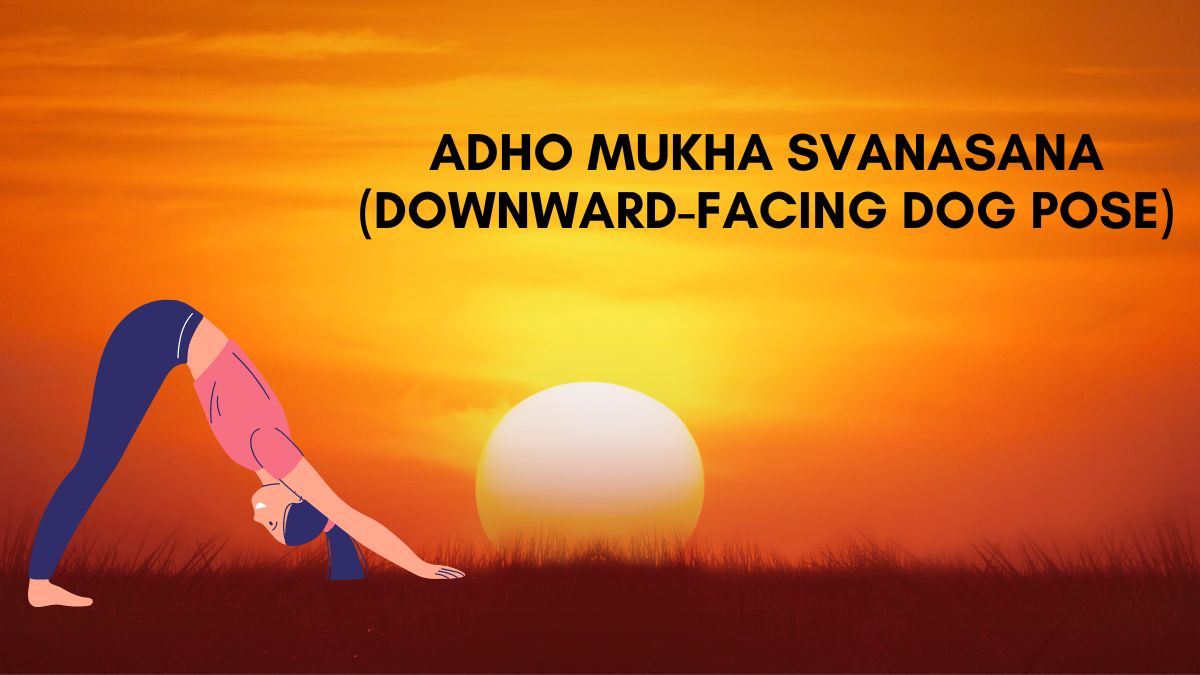
8. Adho Mukha Svanasana (Downward-Facing Dog Pose)
How to Perform:
- Exhale and lift your hips towards the ceiling, forming an inverted V-shape with your body.
- Keep your hands shoulder-width apart and your feet hip-width apart.
- Press your heels toward the floor and lengthen your spine.
Benefits:
- Stretches the hamstrings, calves, and spine.
- Relieves stress and rejuvenates the body.
9. Ashwa Sanchalanasana (Equestrian Pose)
How to Perform:
- Inhale and step your right foot forward between your hands.
- Lower your left knee to the mat, keeping your right foot between your hands.
- Lift your chest and gaze forward.
Benefits:
- Similar benefits as in step 4, with an emphasis on hip flexibility and leg strength.
10. Hasta Padasana (Hand to Foot Pose)
How to Perform:
- Exhale and bring your left foot forward to join your right foot.
- Keep your hands on the floor beside your feet.
- Try to touch your forehead to your knees.
Benefits:
- Enhances flexibility in the back and legs.
- Improves circulation and digestion.
11. Hasta Uttanasana (Raised Arms Pose)
How to Perform:
- Inhale and raise your arms overhead.
- Gently arch your back, stretching your spine and opening your chest.
- Keep your gaze upward and biceps close to your ears.
Benefits:
- Stretches the abdominal muscles and enhances lung capacity.
- Promotes flexibility in the spine and shoulders.
12. Pranamasana (Prayer Pose)
How to Perform:
- Exhale and bring your palms together in front of your chest.
- Stand upright, closing your eyes and taking a moment to feel the effects of the sequence.
- Breathe deeply and evenly.
Benefits:
- Calms the mind and brings a sense of completion to the practice.
- Promotes mindfulness and balance.
To get the most out of your Surya Namaskar practice, consider these tips:
- Practice on an Empty Stomach: It’s best to perform Surya Namaskar in the morning on an empty stomach for maximum benefits.
- Focus on Your Breath: Each movement should be synchronized with your breath. Inhale when stretching upward, and exhale when bending forward.
- Start Slowly: If you’re new to Surya Namaskar, start with a few rounds and gradually increase the number as your stamina improves.
- Modify if Necessary: If you have any physical limitations, feel free to modify the poses to suit your needs. For example, bend your knees slightly in forward bends to avoid straining your back.
- Consistency is Key: Regular practice is essential for reaping the full benefits of Surya Namaskar. Aim to practice daily or at least several times a week.
- Listen to Your Body: Always listen to your body and avoid pushing yourself beyond your limits. If a pose causes discomfort, ease off or skip it.
- End with Relaxation: After completing your rounds of Surya Namaskar, spend a few minutes in Shavasana (Corpse Pose) to allow your body to absorb the benefits.
Conclusion
Surya Namaskar is a powerful and holistic yoga practice that offers a wide range of physical, mental, and spiritual benefits. By incorporating this sequence into your daily routine, you can improve your flexibility, strengthen your muscles, enhance your cardiovascular health, and promote overall well-being. The key to mastering Surya Namaskar is consistency, mindful breathing, and a gentle approach that respects your body’s limits.
Whether you’re a beginner or an experienced practitioner, Surya Namaskar provides a complete workout that nurtures both body and mind. Start with a few rounds each day and gradually increase the intensity as you become more comfortable with the sequence. Over time, you’ll notice the profound effects this ancient practice can have on your health and quality of life.